
Enabling MFA for tenants in Office 365 has become ever present due to increase security. With this you may have noticed that your normal way of connecting to Exchange Online through PowerShell has not worked. This is because connecting to Exchange Online with MFA is a tad bit different and requires the Exchange Online PowerShell module for modern authentication. In this post we’ll go over how to install and use this module, and how you can sign into your tenant’s Exchange Online. Connect To Exchange Online PowerShell With MFA.
Prerequisites
There are a few prerequisites that need to be taken care of first before the actual set up. Feel free to skip these if you have had them done prior.
PowerShell needs to be configured to run scripts, and by default, it isn’t. To require all PowerShell scripts that you download from the internet are signed by a trusted publisher, run the following command in an elevated PowerShell window:
Set-ExecutionPolicy RemoteSigned
Windows Remote Management (WinRM) on the machine needs to allow Basic authentication (it’s enabled by default). To verify that Basic authentication is enabled for WinRM, run this command in a Command Prompt (not in PowerShell):
*Note – if you get an error you may need to run the “Enable-PSRemoting” cmdlet in an elevated Powershell*
winrm get winrm/config/client/auth
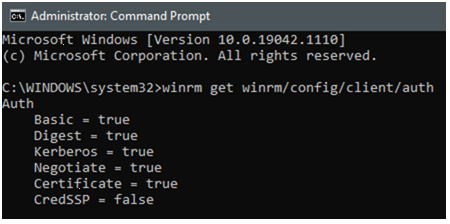
If you don’t see the value Basic = true, you need to run this command in a Command Prompt (not in PowerShell) to enable Basic authentication for WinRM:
winrm set winrm/config/client/auth @{Basic=”true”}
Installing Exchange Online PowerShell Module
Follow these steps below to install the “Exchange Online PowerShell Module”:
- Configure Windows PowerShell to run scripts by opening PowerShell as an Administrator and using the following command:
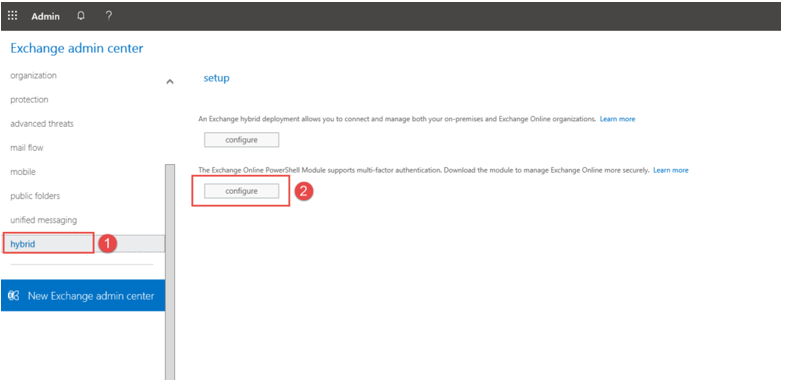
Set-ExecutionPolicy RemoteSigned - Start Internet Explorer and log into the tenant’s Exchange Admin Center. (Note that Internet Explorer is the browser that must be used. Do not use Chrome or Firefox as an error will occur upon downloading)
- In the EAC, go to Hybrid > Setup and click the appropriate Configure button to download the Exchange Online PowerShell Module for multi-factor authentication.
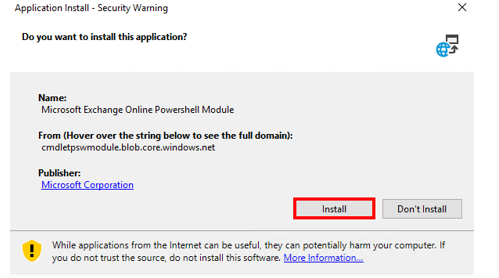
Once downloaded click to open and then click the Install button.
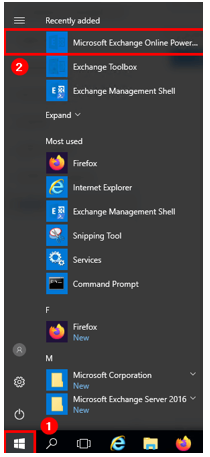
Once the install has finished you will be able to find the “Microsoft Exchange Online PowerShell Module” in the start menu and on the desktop.
Connecting to Exchange Online PowerShell by using MFA
Once installed, open the “Microsoft Exchange Online PowerShell Module”. You can make a connection to the 365 tenant with the following command
(replacing the admin@domain.com with the global admin username.)
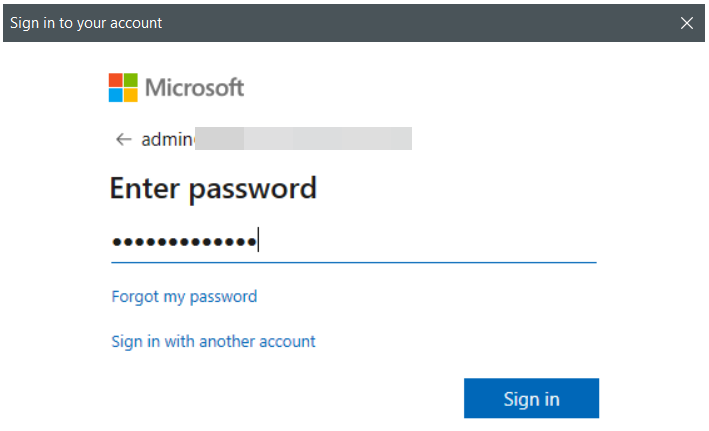
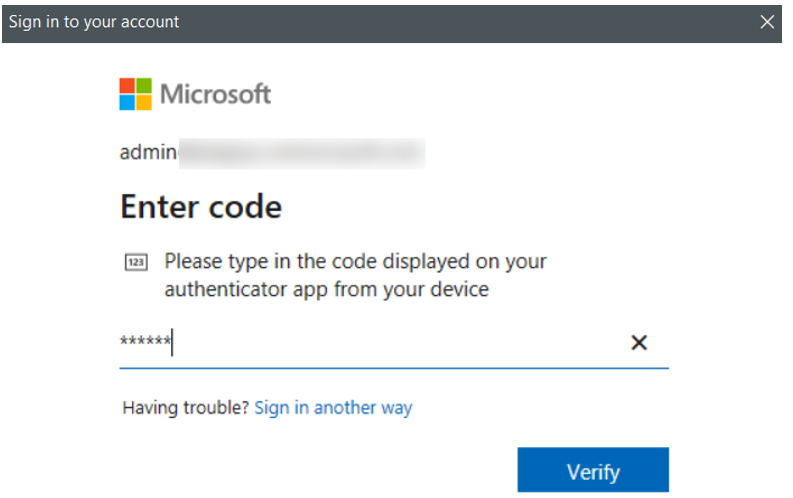
Connect-EXOPSSession -UserPrincipalName “admin@domain.com”
This will open a new sign in window for you to type in the global admin creds and MFA code.
Once you have finished, be sure to sign out from PowerShell Online by running the following command:
Get-PSSession | Remove-PSSession
